
NatWest Accelerator Events Free one-day marketing seminar at the NatWest Accelerator, Milton Keynes · 13 January 2027 Free marketing seminar · NatWest Accelerator, Milton Keynes · 13 Jan 2027 Free seminar · 13 Jan 2027
NatWest Accelerator, MK
Get your free invite →Invite →

Home › Blog › General

General

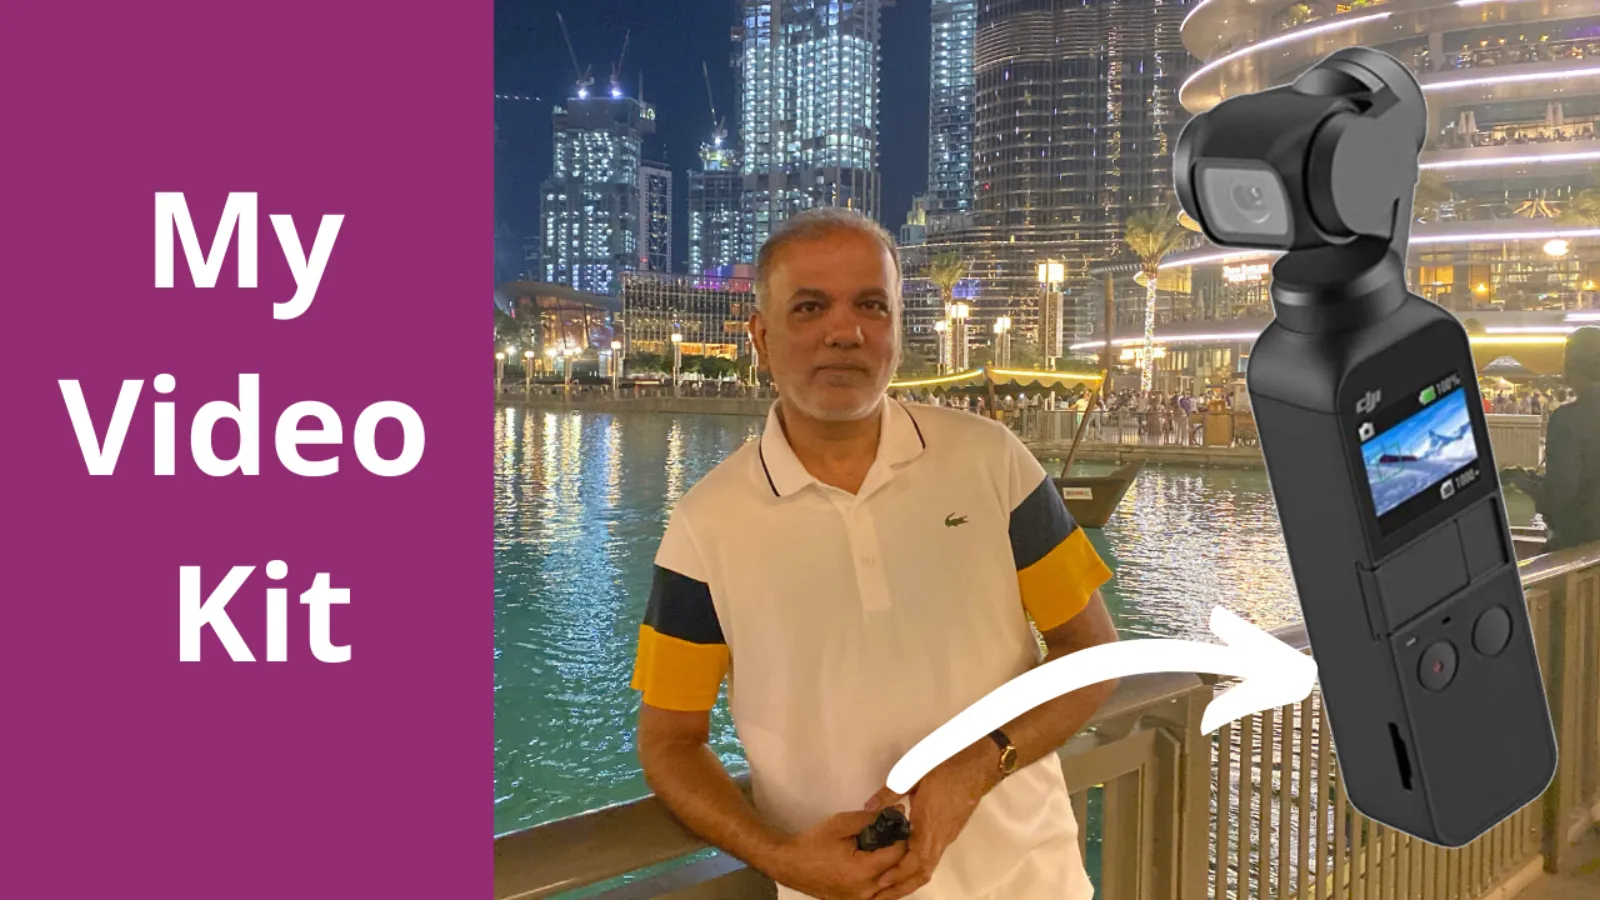
My Video Kit

My Video Kit
Read the video transcript

Shooting on location means that you need to have all the equipment you need to create your videos. However, having all the kit with you means that it can weigh a ton and it really slows you down. So, right now I'm on location and in this video I'm going to show you all my equipment, which I use to shoot and create videos for me and my clients and it's all in this little carry case.

Hello, I'm Uzair and thanks for joining in. In this video, I'm going to share with you my exact kit as to what I use to shoot on location. So I need to be fairly mobile and especially in a hot condition or in a hot environment, you don't need or want equipment which weighs a ton and it really slows your workflow, kills your back and your shoulders and literally, it's not enjoyable.

But with the kit which I have got very recently, I'm loving creating my videos on location. So I had quite a few questions asked by a lot of my subscribers and clients as to what I need to shoot on location. So let's open up the bag and see what I've got in here. So I'll start off with the easy bit, which is in the front section is my MacBook Air.

So I can slide it in there and download them and just check all the videos. Check everything is all okay before I head back home. Over here, I'm gonna move the camera down a bit so you can see what's in here. Now I'm shooting right now with my iPhone, which is on a fairly small tripod. I'll put the link to the tripod and an image on the blog so you can see which one I'm using.

But any inexpensive tripod will do because it's just going to support a little smartphone or an iPhone. So let's go a bit closer. So when it comes to packing up my camera bag. I'm extremely fussy about as to where all the equipment goes in which compartments so I can quickly get to it and put them back in the same place.

So start off with the easy one. These, I've got these 2 portable power packs because when you are shooting on location, and especially with your mobile phone, you need to have power. All the cables are here and because I've got millions of cables in my bag, my wife very kindly has put these label on for me so I can see, which cable is this?

I'll put them back in here. So these power packs are really good. They can charge up my phone and my DJI Osmo Pocket which I'm going to show you right now. This is something amazing, truly a game changer. It has really put the fun back of photography and video for me. So that's all it is. It has got a gimbal on it.

Now this is not a tutorial for this DJI Osmo Pocket. But you can see that this moves around, you can move it up or down, sideways, and it shoots in 4K. It's really good for shooting on location and it is very, very portable and lightweight. Comes with a case so you can put it back in safely. I've got some connectors so I can connect my USB ports for my MacBook air.

And here, nothing exciting about that. Some more cables in here, cleaning cloth. So that compartment is there. In here in this little box I've got all the accessories for the Osmo Pocket. It has got the wireless connector. So what that does is this one fits on top of it and that bit connects wirelessly to my iPhone so I can use a bigger screen to see all the functions and control the whole thing from my smart phone or iPhone.

And here I've got a lapel mic, which I'm using right now. So it's a wired one. Sometimes I use wireless, sometimes wired, depending on the conditions and where I am. So as you can see this is, this goes all the way to my collar. That's the Rode microphone, I think it is Road Micro and that is a wireless one.

So this connects either through the smart phone or to the Pocket. Card reader. So I can download my images and videos onto my MacBook Air. And that's about it in here I think. A holder for the phone, which clamps onto the tripod. So, well these are my reading glasses so I can see what I'm doing. So that compartment is done in the other one I've got somethings, a couple of things which are quite interesting other than the, obviously you don't want to know what these charges are, but I'll take out my interesting bits and pieces and I'll go through them as to what they are and why do I carry them.

I think that's about it really. And other than that, there are some more zip section in their. I've got all my cables pretty much, there are millions of cables, as I said earlier on. Okay. So the interesting bit, which I want to show you is this. So this is the, can't remember what the exact name of it.

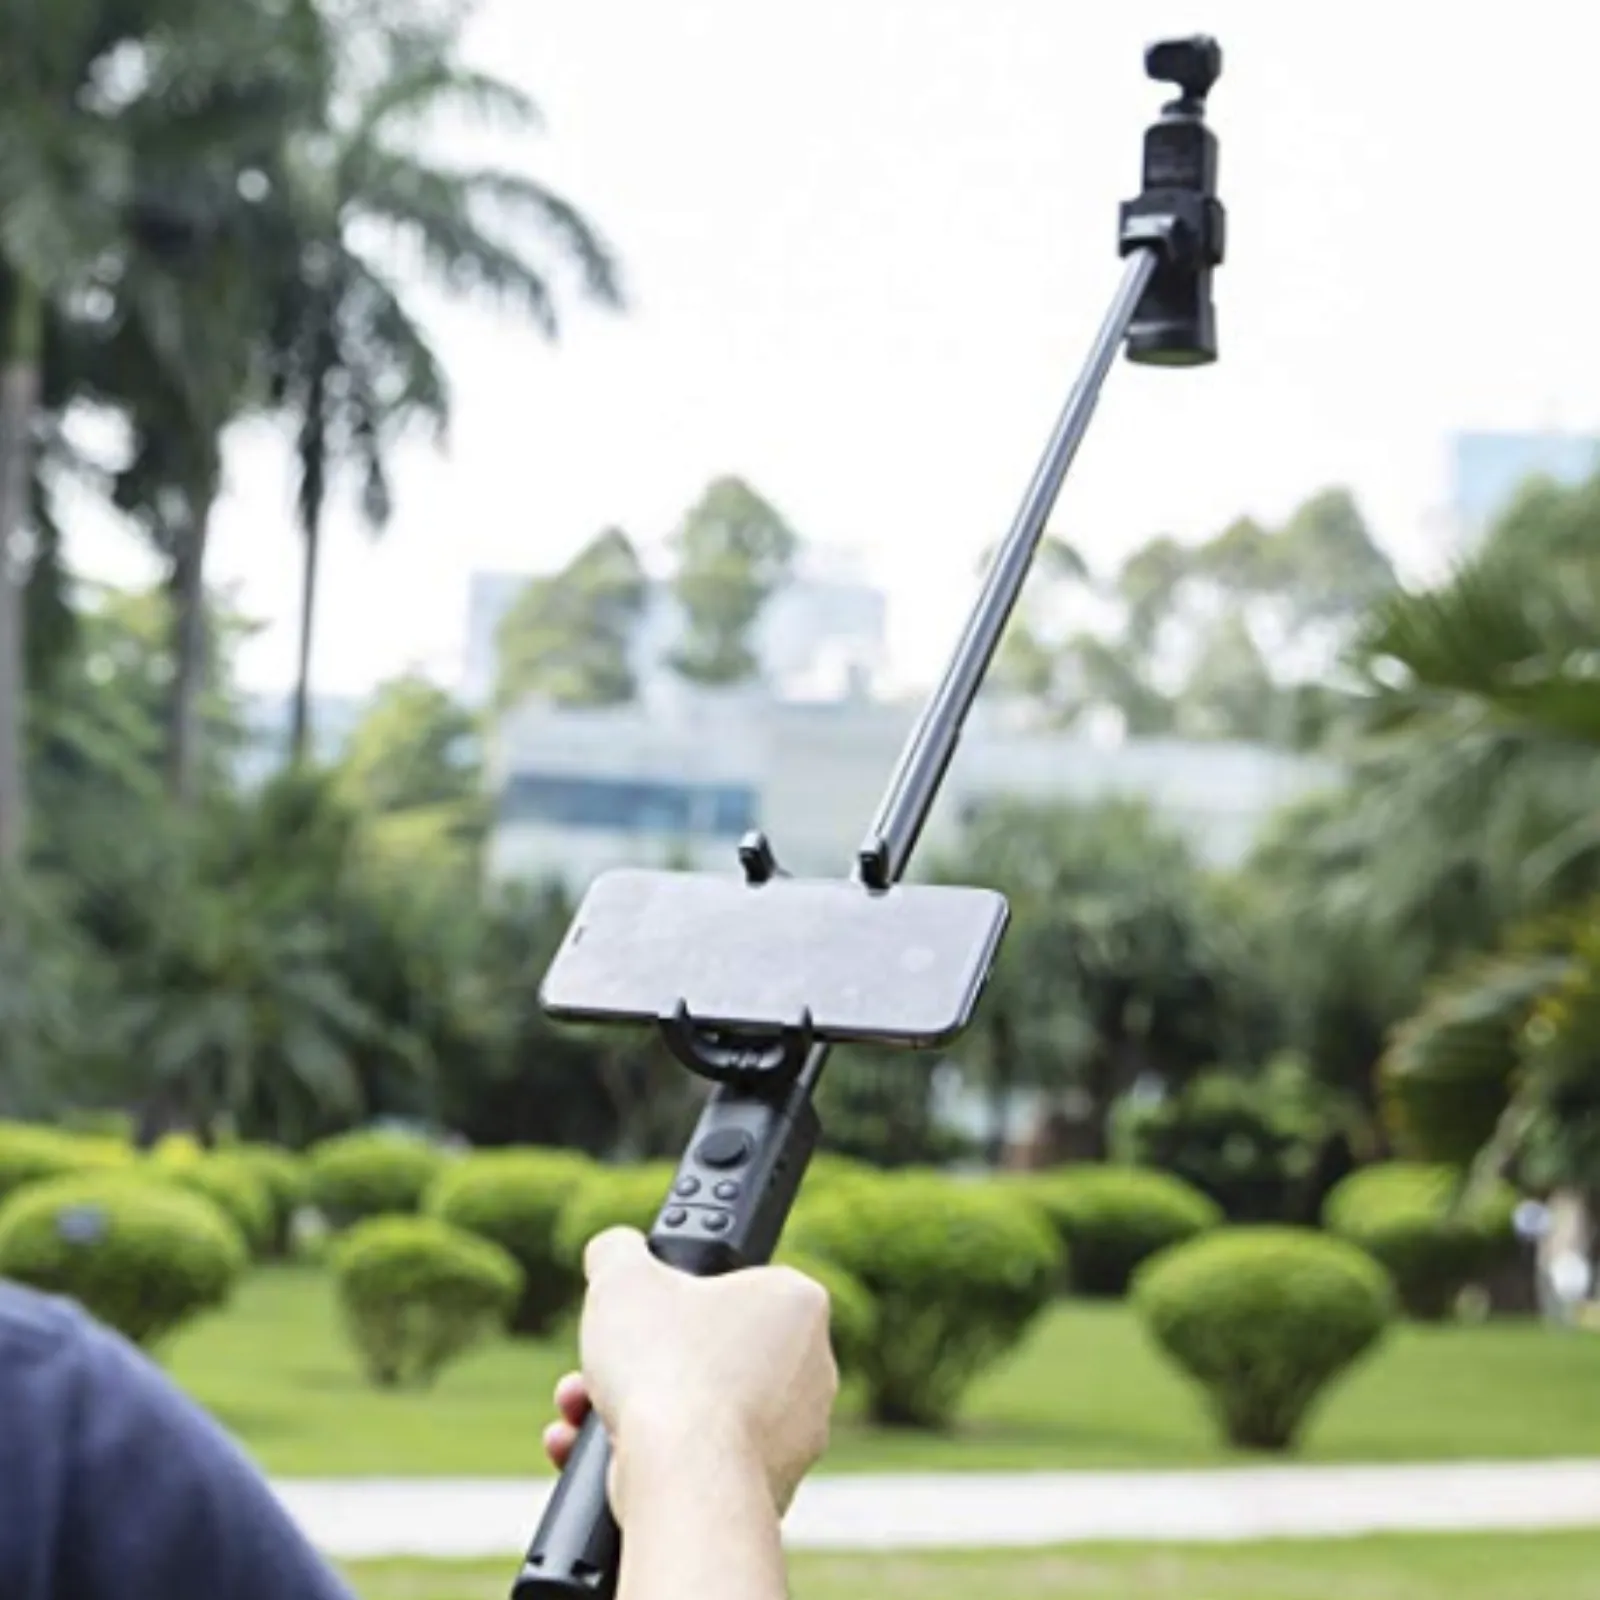
It's an extender. So the DGR Osmo goes in here. Let me take this out for you so you can see how this connects. It's really, really clever the way they built it. And I love it because I can go take shots which are quite low or from high above my head because this fits in quite nicely on here.

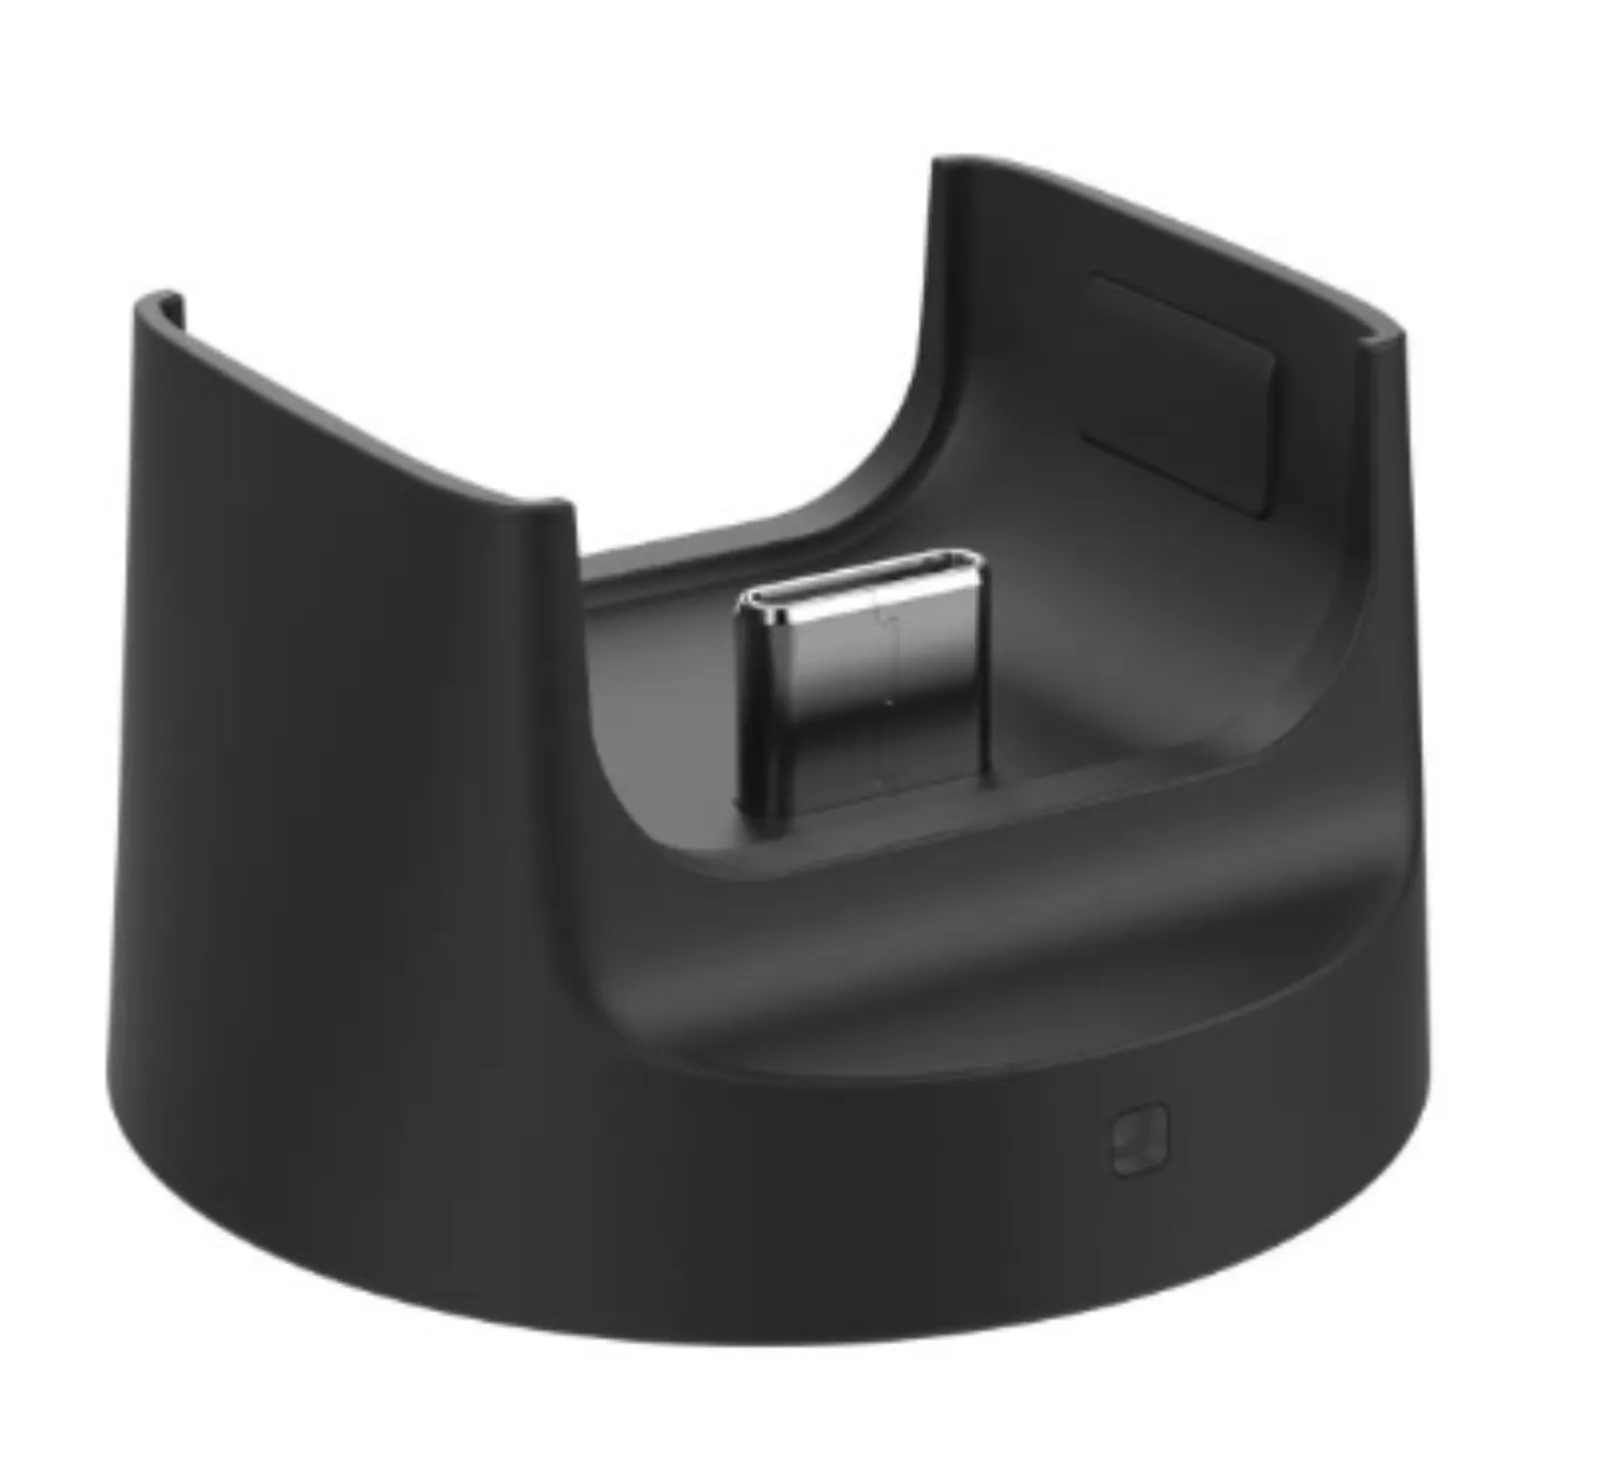
Just connect it. And on here I get my phone and then the wireless connector, which is again in the bag, I forgot to take it out. And I also have a habit of closing the bag every time because quite often when I've picked up the bag and everything falls out. So that bit goes on there. Now that is the wireless controller, which controls the Pocket from the phone.

Now you can have a wired one attached going to the phone, but I find the wireless controller works really well and it's easy to use as well. Now you can extend this rod and then you can tilt, however you want to use this extender. All the buttons are over here so you can press start, stop, shoot. That's the controller for the gimbal which starts.

Yeah, there you go. It starts and now if you can see I move the controller, the gimbal head moves and gives me a nice action of the video head where I'm shooting. So I would highly recommend this extender. It's really, really good. Okay. And these are not very expensive. I think it's about £50. This is about £40.

I can't remember. This one was about £330. You also get the stand if you want to put it on a stand and then it's going to stand like that. Then use it however you like. Okay, so that's out of the way. This is something interesting because this makes or breaks your images or videos when you are shooting in very bright light.

Now as you saw from the start of this video, I'm shooting with the sun behind my back. I'm shooting into the light, but because I've got this ND neutral density filters, which clip on on the top of the lens, I can get this right. The only thing which I hate about this is they so small, it's very easy to lose them or drop them somewhere.

I'm going switch this off and all you do, as I said, I've dropped it down in there. I'll pick it in a minute, but you just clip it on. It's magnetic. So it's very secure. I'll never drop them while using only when I've been taking out and putting them back in, I'm likely to drop them. That's done.

This one is a wide angle lens for the Pocket, so that also clips on and it's magnetic. I've got my SD or micro SD card readers and some CF cards, which obviously don't go in the Osmo, the Osmo takes these micro ones. And these are the holders for that. And that's about it. That's all I've got. And all of this equipment is all I need to shoot my videos on location.

I hope you enjoyed this video. I've got a complete and full blog post as to what I shot with all this equipment on my website. So click on the link around this video somewhere and you'll be able to see what kind of results I get using these equipment. So thanks for joining in. I hope you enjoyed it.

And I look forward to seeing you in the next one. Bye for now.

Shooting on location means you need to have all of the equipment you need to create your videos. However, having all of my equipment with me in my video kit means that it can weigh a ton and it really slows me down.

In this video, I am on location and am going to show you my video kit, which I use to shoot and create videos for me and my clients and its all in this little carry case.
Free NatWest Accelerator event

Get Found, Get Chosen, Get Your Time Back

A free one-day marketing seminar in Milton Keynes · 13 January 2027

Get your free invite →

I need to be fairly mobile on location and especially in a hot environment, you don’t need or want equipment which weighs a ton and it really slows your workflow, kills your back and it’s not enjoyable. But with the kit that I have got recently, I’m loving creating my videos on location.

Get your free Marketing Action PlanNot sure where to start? Answer a few questions and get your plan in about a minute. No email needed.

Get my plan →

I have had quite a few questions asked by a lot of my subscribers and clients as to what I need to shoot on location. So let’s open up the bag and see what I’ve got in there:

1. MacBook Air – so that I can check all of the videos to make sure they are looking great before I head back home.

2. iPhone – I am shooting the above video with my iPhone, which is on a fairly small tripod. I have put the links to the tripod so that you can see what I’m using, but any inexpensive tripod will do because it’s just going to support a little smartphone or an iPhone.

3. Two portable power packs – when you are shooting on location, especially with your mobile phone, you need to have power.

4. Cables – I have millions of cables in my bag, which my wife has very kindly labelled for me so that I can work out which one is which.
5. DJI Osmo Pocket – this is something amazing, truly a game-changer. It has really put the fun back into photography and video for me. It has got a gimbal on it, and it moves around – up, down, sideways – and it shoots in 4K. It’s really good for shooting on location and it is very, very portable and lightweight. It comes with a case so that you can put it back in safely.
Uzair KharawalaLIVE
Free weekly YouTube live

Live every Tuesday at 2pm UK. Bring your marketing questions.

Get your Google, local SEO and AI questions answered live.

Join for free

6. Connectors – these let me connect my USB ports for my MacBook Air.

7. Cleaning Cloth
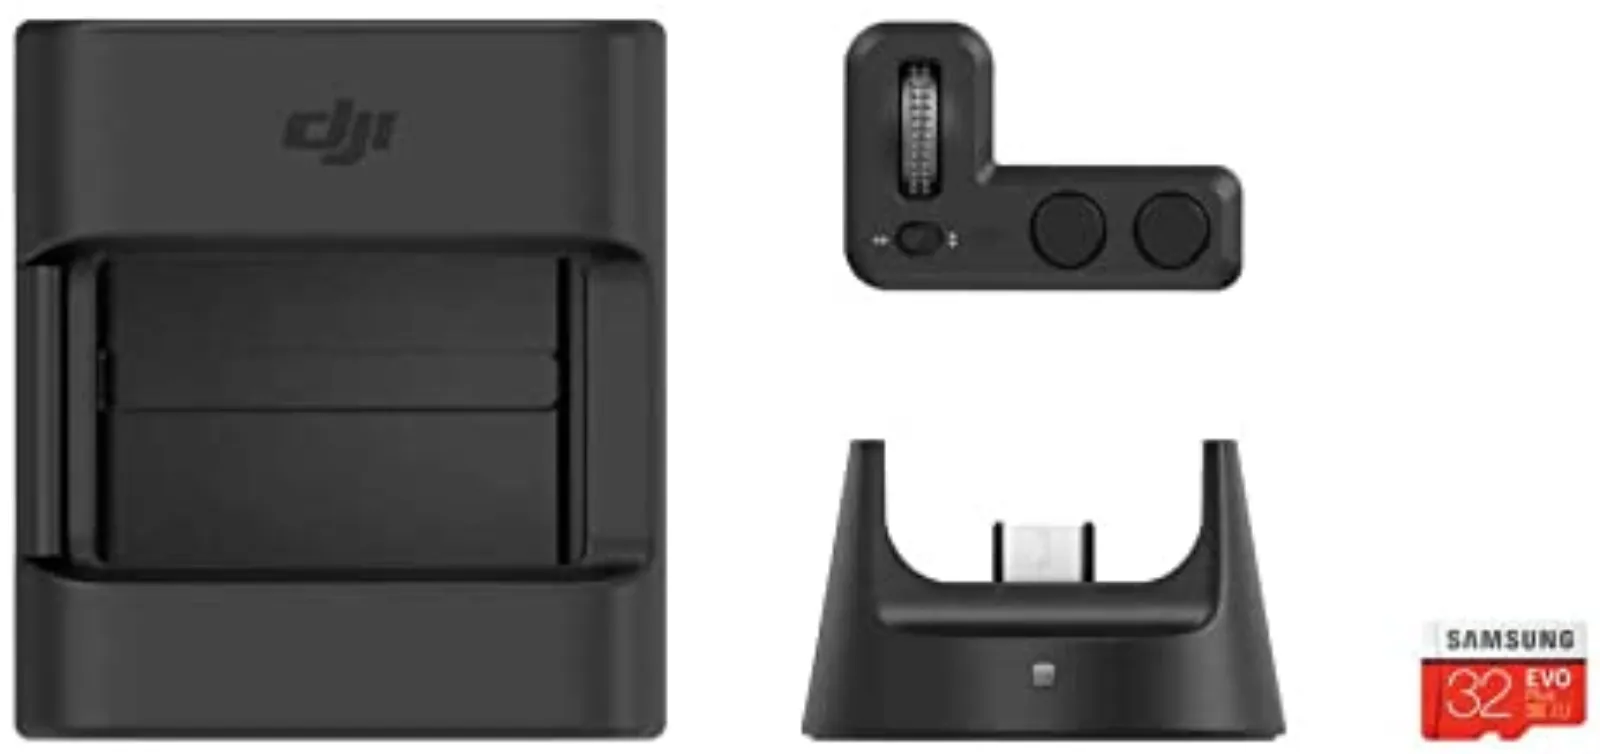
8. DJI Osmo Pocket Expansion Kit – this has the wireless connector, which fits on top of it and connects wirelessly to my iPhone so I can use a bigger screen to see all the functions and control the whole thing from my smartphone or iPhone.
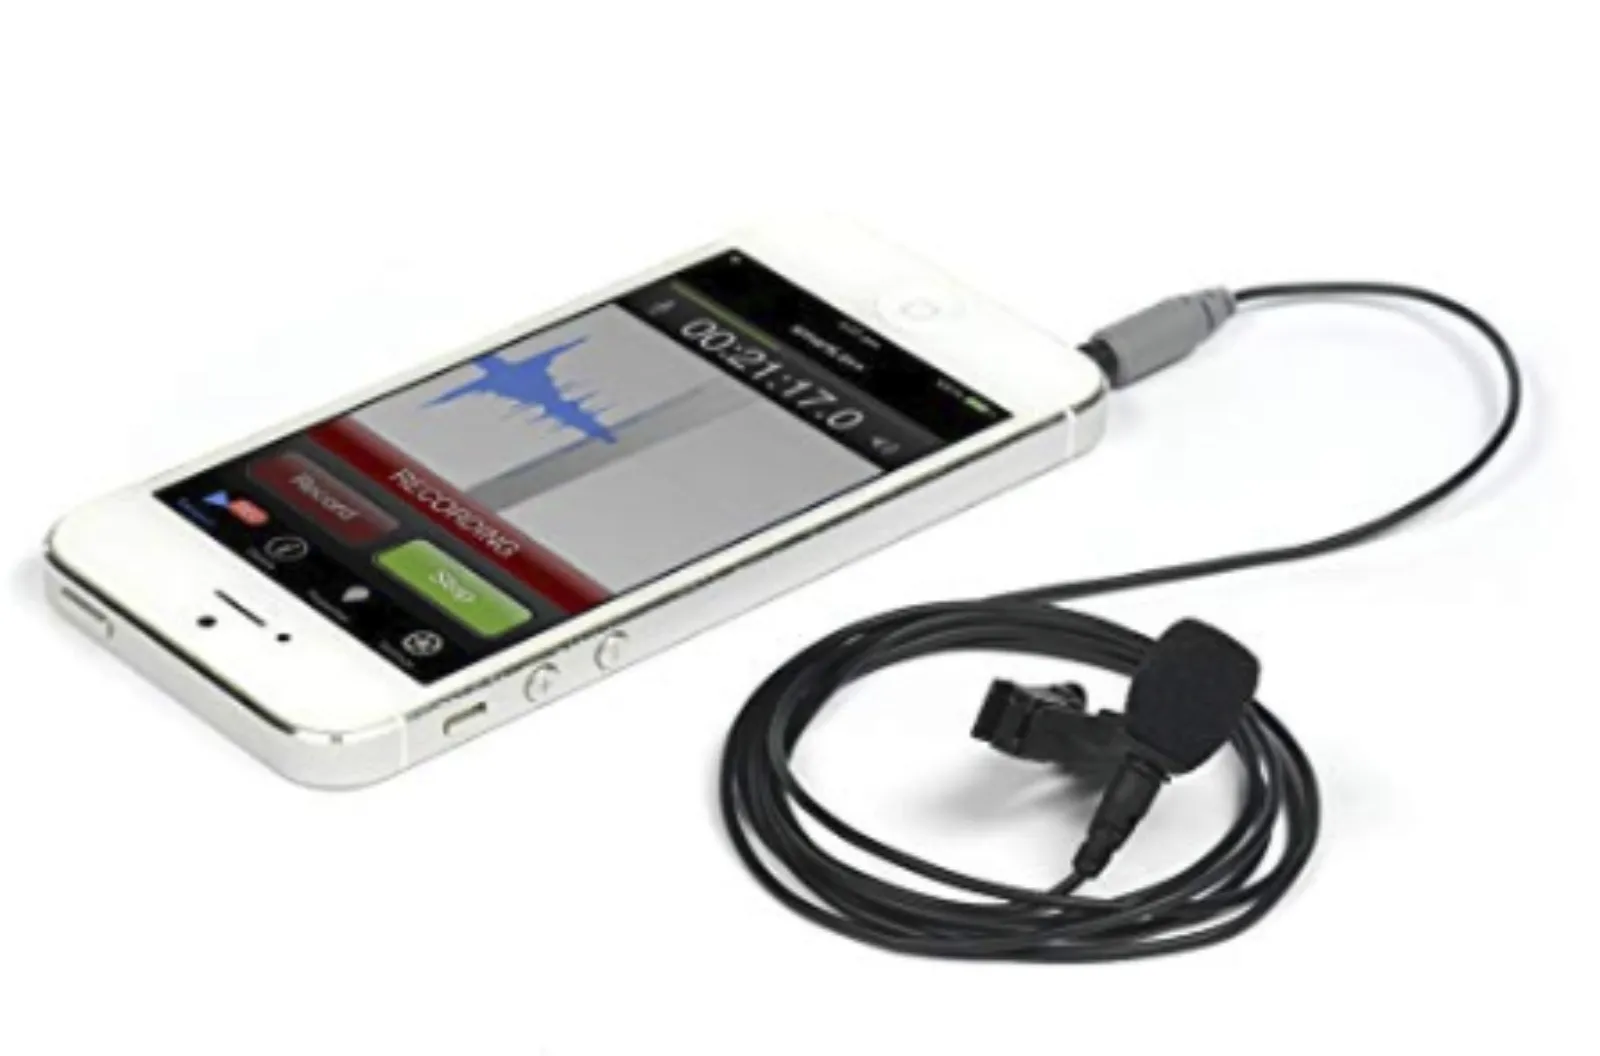
9. Rode Smartlav Microphone – this is what I’m using in the above video and it’s a wired one. Sometimes I use a wireless one, depending on the conditions and where I am. This goes all the way up to my collar. This is the Rode microphone which connects either through the smartphone or to the Pocket.

10. Card Reader – so that I can download my images and videos onto my MacBook Air.
DJI Osmo Pocket Extension Rod

11. DJI Osmo Pocket Extension Rod – this connects to the Osmo Pocket and you can extend your reach for the shots. It’s really, really clever the way they built it. I love it because I can go take shots which are quite low or from high above my head because this fits in quite nicely on here.
DJI Osmo Pocket Wireless Module

12. DJI Pocket Osmo Wireless Module – this controls the Pocket from the phone. You can have a wired one attached going to the phone, but I find the wireless controller works really well and it’s easy to use as well. Now you can extend this rod and then you can tilt. However, you want to use this extender. All the buttons are over here to press start, stop and shoot and you can also control the gimbal head which moves and gives me a nice action of the video head where I’m shooting. I really recommend this extender and it is not very expensive.
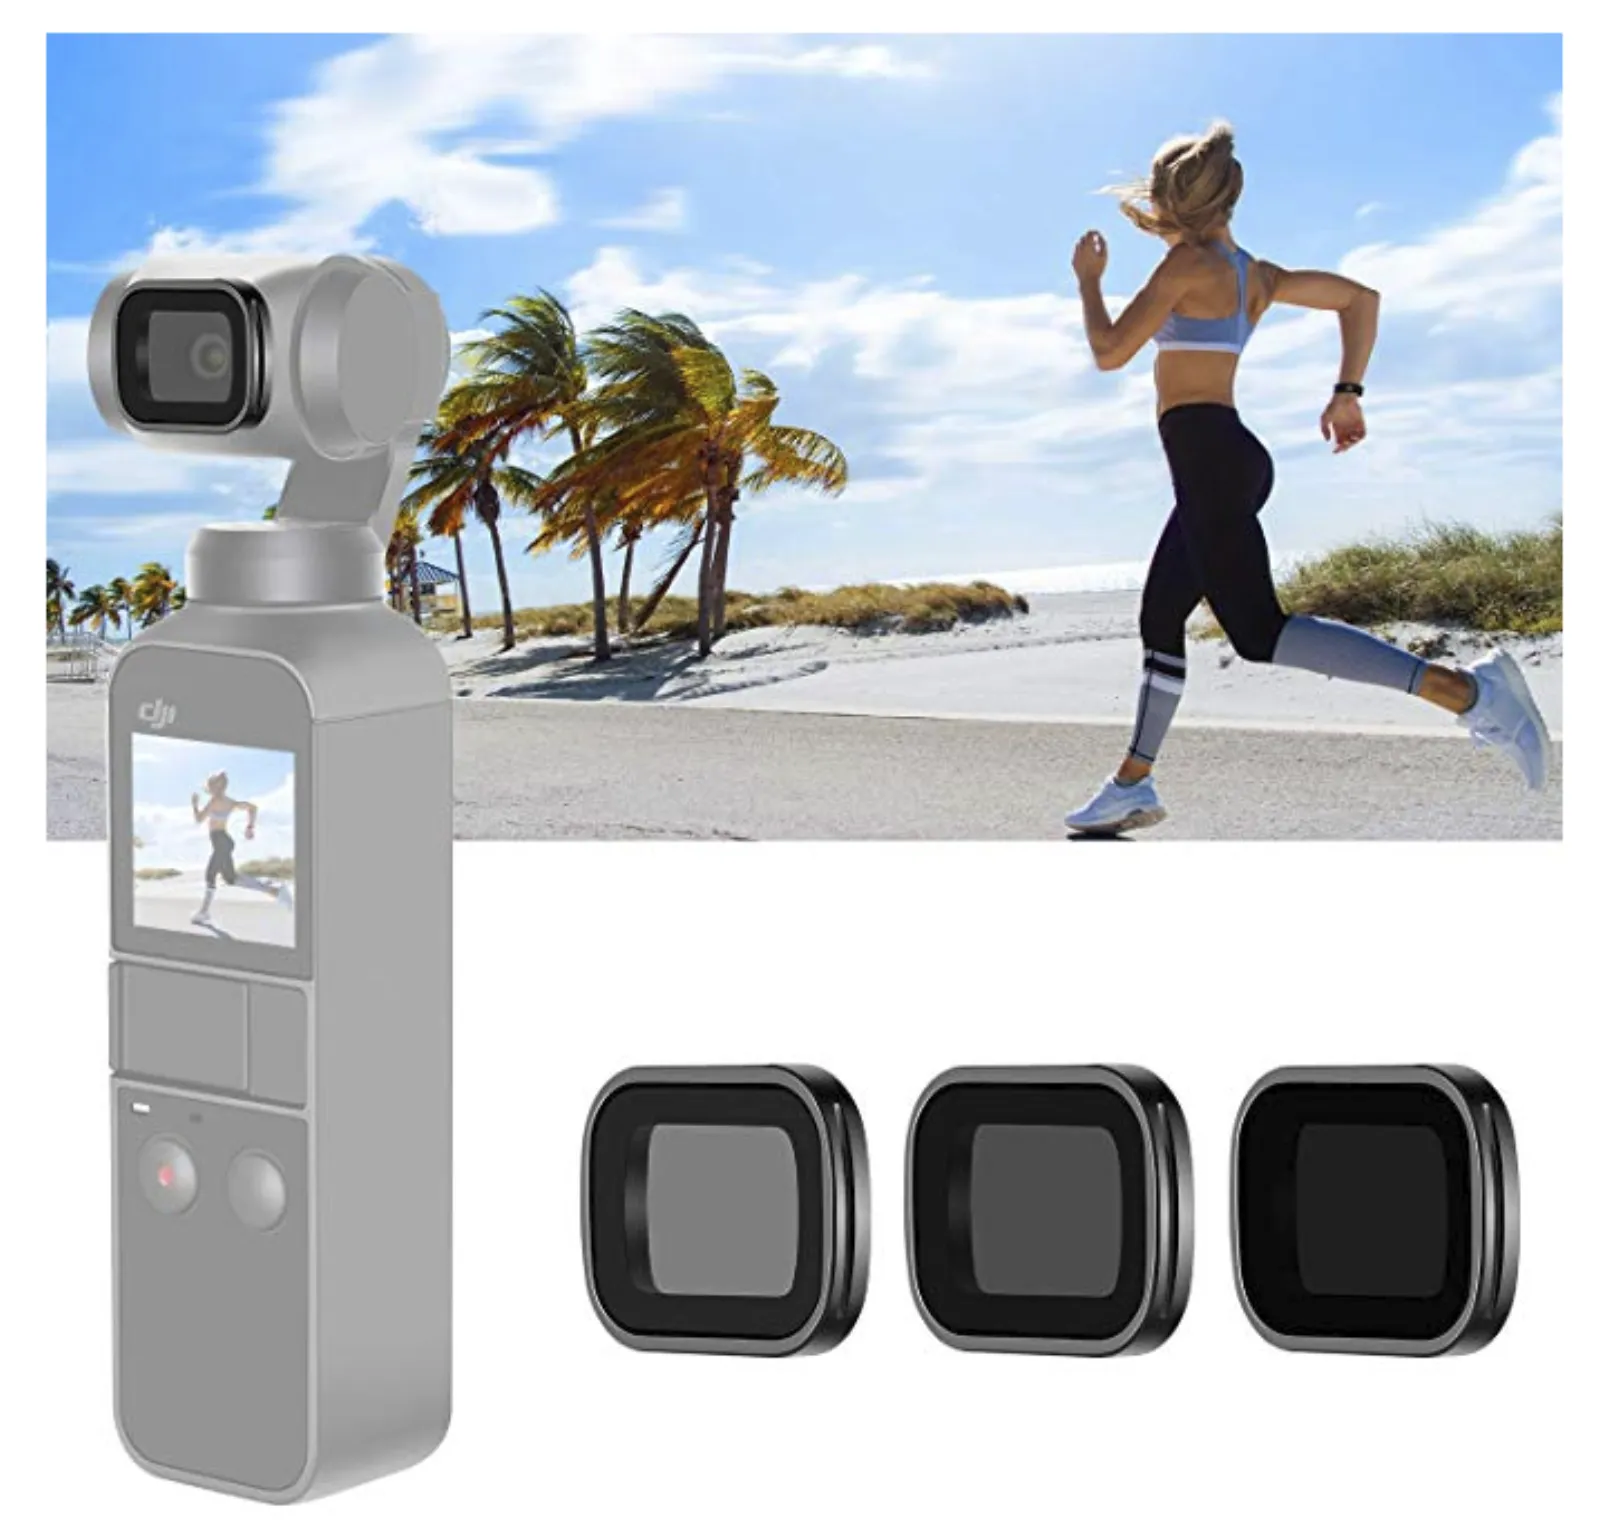
DJI Osmo Pocket ND Neutral Density Filters

14. ND Neutral Density Filters – this is something interesting because it makes or breaks your images or videos when you are shooting in very bright light. As you may have seen at the start of the video above, I was shooting with the sun behind my back. I’m shooting into the light, but because I’ve got this ND neutral density filters, which clip on to the top of the lens, I can get this right. The only thing that I hate about this is they are so small that it’s very easy to lose them or drop them somewhere. It is magnetic though so it is very secure once it is clipped on.
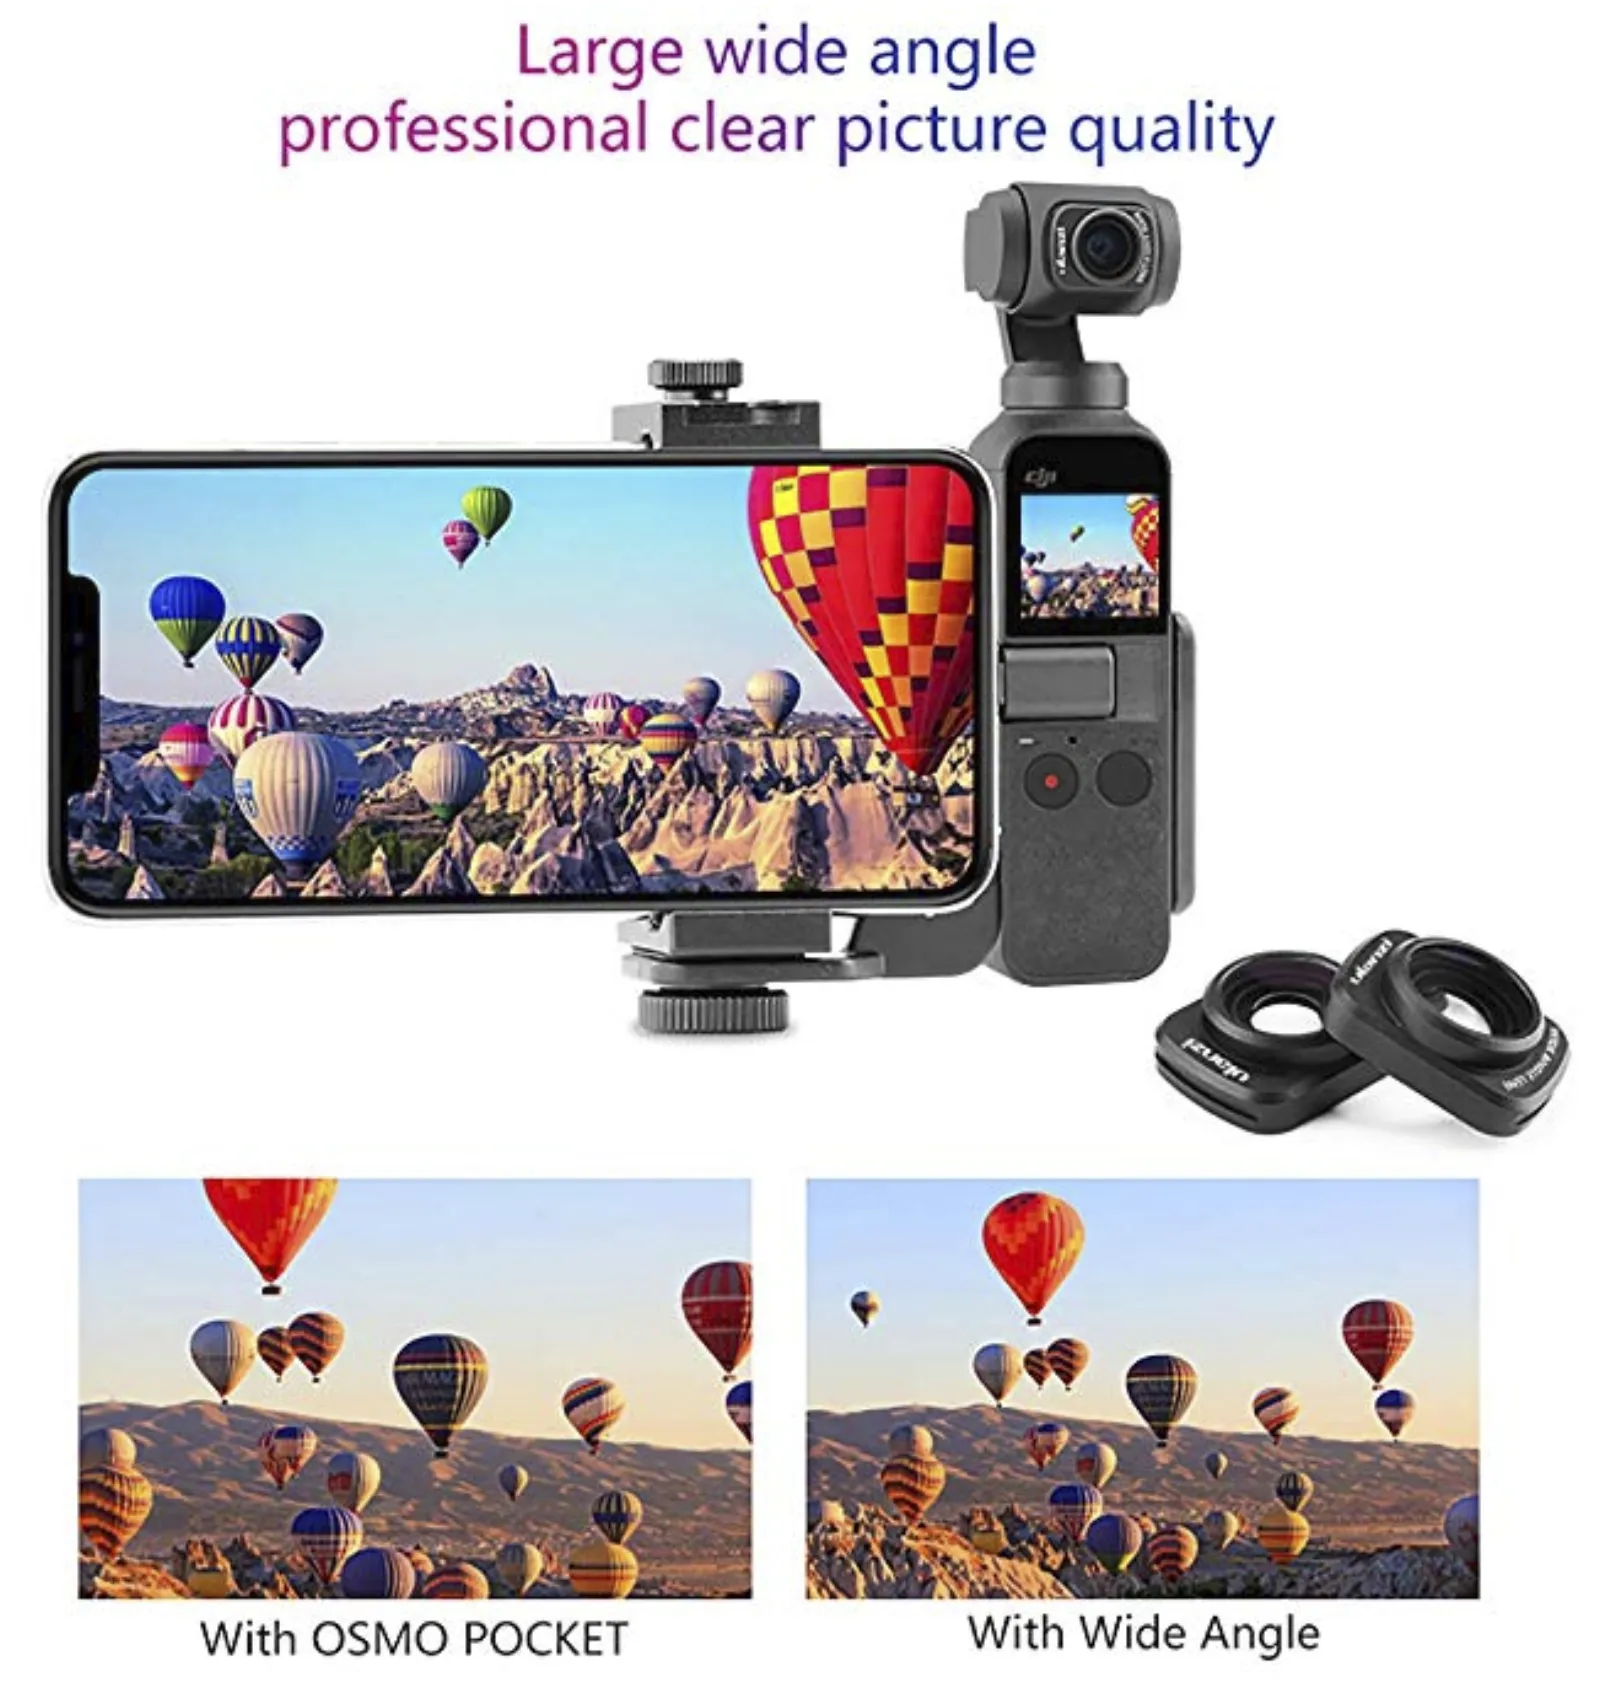
DJI Osmo Pocket Wide Angle Lens

15. DJI Osmo Pocket Wide Angle Lens – this is for the Osmo Pocket, which clips on and is magnetic.

16. SD/Micro SD card reader

Thank you for reading this blog and hope you got some ideas & inspirations on how to shoot video on location.
Uzair Kharawala

Written by Uzair Kharawala

Partner at SF Digital Studios, a Google Premier Partner agency. Uzair has been helping businesses grow with Google Ads since 2002 and teaches it every week on YouTube.

Book A Call →Subscribe on YouTube for new videos every weekday →
Free every week

Get our best Google Ads tips by email

New articles and videos, straight to your inbox. Unsubscribe any time.

We respect your privacy at all times. Privacy Policy

You may also like

Read the blog →

Your next customers are out there. Let's go and get them.

Tell us where you want your business to be, and we'll show you how to get there.

Book A Call →or get your free Google Health Check →
Happy clients

Don't take our word for it

4.9 from 157 Google reviews, plus case studies and client videos.

See our happy clients →
"It has now been 3 months since we started and our sales have increased 300%."
Ruhi Latif Rafplay, Dubai
"Uzair and Farzana are two of the most honest, sincere and trustworthy people you will ever meet."
Gavin Morgan GDM Jewellery · Google review
"If I needed a campaign built, this is one of the rare few people IN THE WORLD I would trust to do it properly."
Hemmel Amrania Google Ads professional · Google review
Book A Call →
Chat with us on WhatsApp